
Sometimes my specialty paint finishes can help create a focal point for a room, where in other cases my job is to complement and/or “complete” a look that already exists in a space. My recent project creating a specialty finish on an entertainment cabinet in Boston was a fun challenge for the latter scenario.
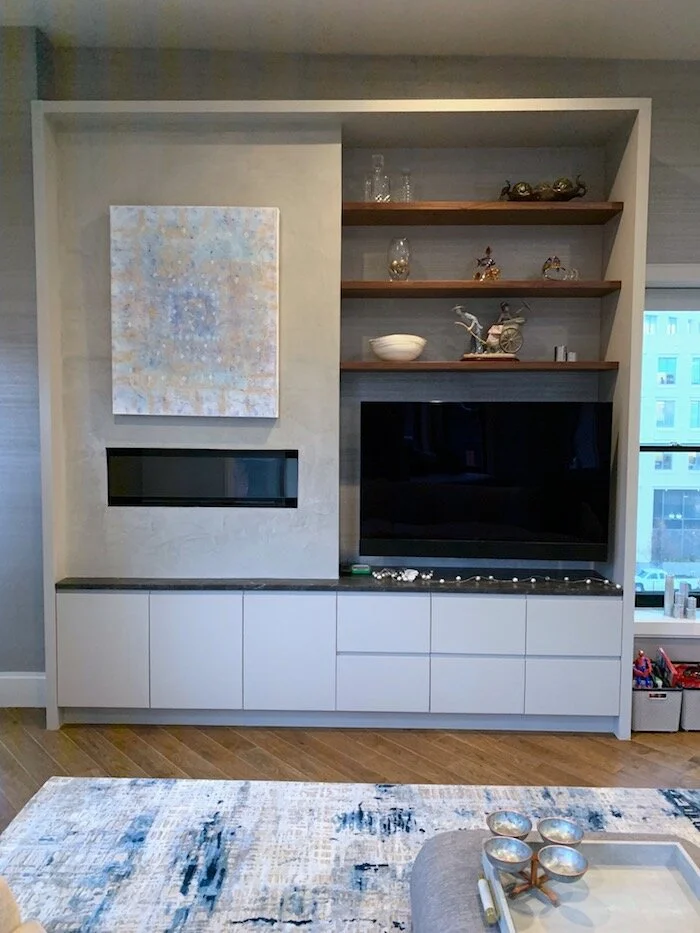
I was brought in to this project by an interior designer friend to help her clients “fix” a set of doors and drawers that they felt looked too much like a filing cabinet! The entertainment center is in the primary living space of a condo in South Boston that had been recently renovated, and while the upper section includes a venetian plaster finish, the lower cabinets’ simple light gray paint didn’t work with the overall look.
Below are pictures of the cabinet before I started:

My first step was to collaborate with the designer and the client on a solution. They knew they wanted something to pick up on the patterning of the venetian plaster, but using plaster on the drawers and door faces would not be a durable solution. To address this, I suggested creating a similar patterning with paint and glaze that I could them polyurethane for great durability. For colors, we looked at the wallpaper, the venetian plaster and the counter top and decided to shoot for a gray that pulled in all of these elements without being too matchy. To accomplish this, we aimed to go darker than the top section but not as dark as the counter – all while keeping the grays in the same general family as the wallpaper.
As always, my first step was to create sample boards. In this case, I did four different color combinations to give my clients plenty of options to choose just the right look. When we met to review the options, there were a couple of close finalists, but we were able to pick and option they were happy with!
With this in hand, I was ready to move forward with creating the look on the cabinets. Since I record all of my color and techniques for samples, I just needed to use the same formulas for the cabinets. As always, I cleaned and sanded to make sure I got good adhesion with me new paint. I panted my base layer, then created the patterning with a second color. When this was dry, I finished it all off with 3 coats of acrylic poly to get a good, hard finish that won’t yellow.
When I returned to re0assemble the cabinets, my clients were thrilled to no longer have the “filing cabinet” look! Below are the “after” pictures.
Enjoy!
Jason

