
It was last December when I first met my client Michele and her designer Sara. We were meeting to look at the large great room in Michele’s beautiful new home with the goal of reinventing the space. The first order of business was figuring out what to do with the walls – which is where I came in, together with my business partner Joan. The finish that Michele inherited was very heavily textured, with sharp peaks of plaster scattered throughout the space. Over the texture was a faux finish of a dark brown and an even darker brown glaze. Adding to the challenge, this same finish continued into the kitchen and 2 small hallways. The overall effect was very dark, heavy and dated looking. Below are some before pictures that help paint the picture of where we were starting:

Fireplace wall before

TV wall before
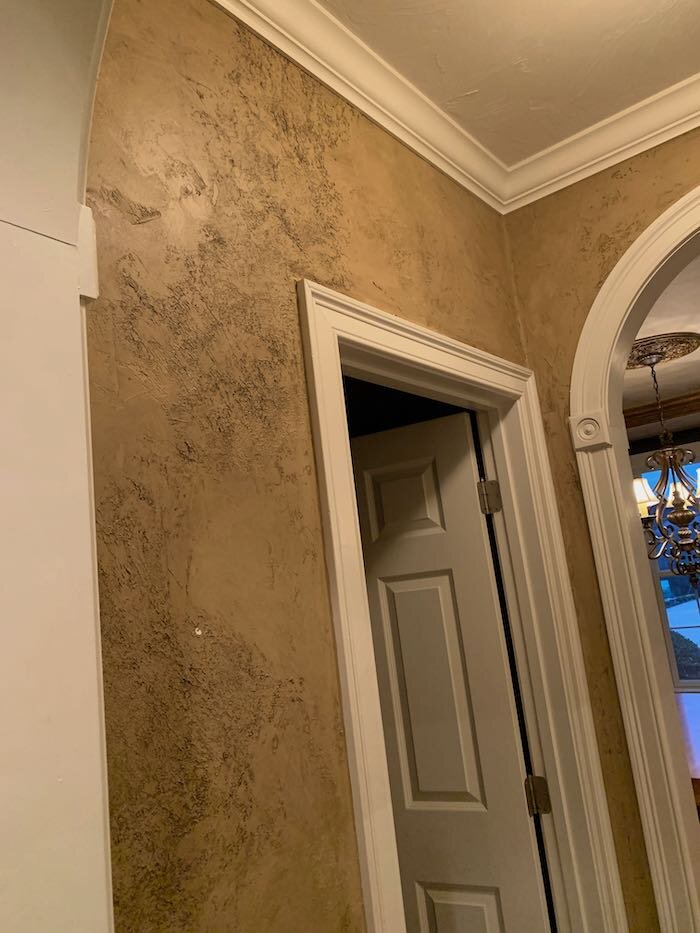
Small hallway before/ close up of texture
As we collaborated with Sara and Michele on possible solutions, they shared that their goal was a French chateau look that would work with the arched windows and doorframes, as well as other details in and outside of the house. They did not want simple flat walls painted a single color, but they did want something cleaner, brighter and less overbearing.
To accomplish all of these goals, we suggested roman plaster. We explained that we could scrape the walls to knock down the most extreme areas of texture, but use the plaster to hep even out the rest. Roman plaster itself has a texture, but it is a subtle effect that gives some interest and motion to the walls without overwhelming the space. Roman plaster is also finished with wax that can be burnished for nice variations in shine that accentuates the motion of the plaster and would fit perfectly with the French chateau look!
Michele and Sara were excited about the idea – so we were on to doing samples. In doing the samples, one of our main points of focus was getting the color right. We knew we wanted something lighter and brighter than the brown, and we needed something that would go well with taupe wallpaper in an adjacent space, the terracotta kitchen floor and the cream-colored cabinets. To accomplish these objectives, we mixed different combinations of the standard plaster colors to look at in the space. With sample boards in hand, we met again at Michele’s to look at the finish and our proposed colors. This finish was a hit, and one of our colors was a perfect fit – so we were on to ordering materials and planning the job!
Once on-site and set up with scaffolding and ladders, we were on to scraping down the walls and priming them with a specialty product that helps insure a good bond for the plaster. With these steps done, we then applied a base coat plaster – which is a grainy, almost concrete-like substance that helps level the texture of the walls and creates an ideal surface for the final plaster to adhere.
Then we were on the plaster and finally getting to see what the end result would be! Once the paster dried, we sealed and burnished it with the wax to protect the finish and give it the final look.
The end result is beautiful! Michele and Sara were both thrilled – as were Joan and I ! The room is now brighter and cleaner with a great color and the motion and texture of the plaster add the ideal level of interest and richness to the large space.
Below are some of the “after” shots showing this new finish…
Enjoy!
Jason

Fireplace wall after
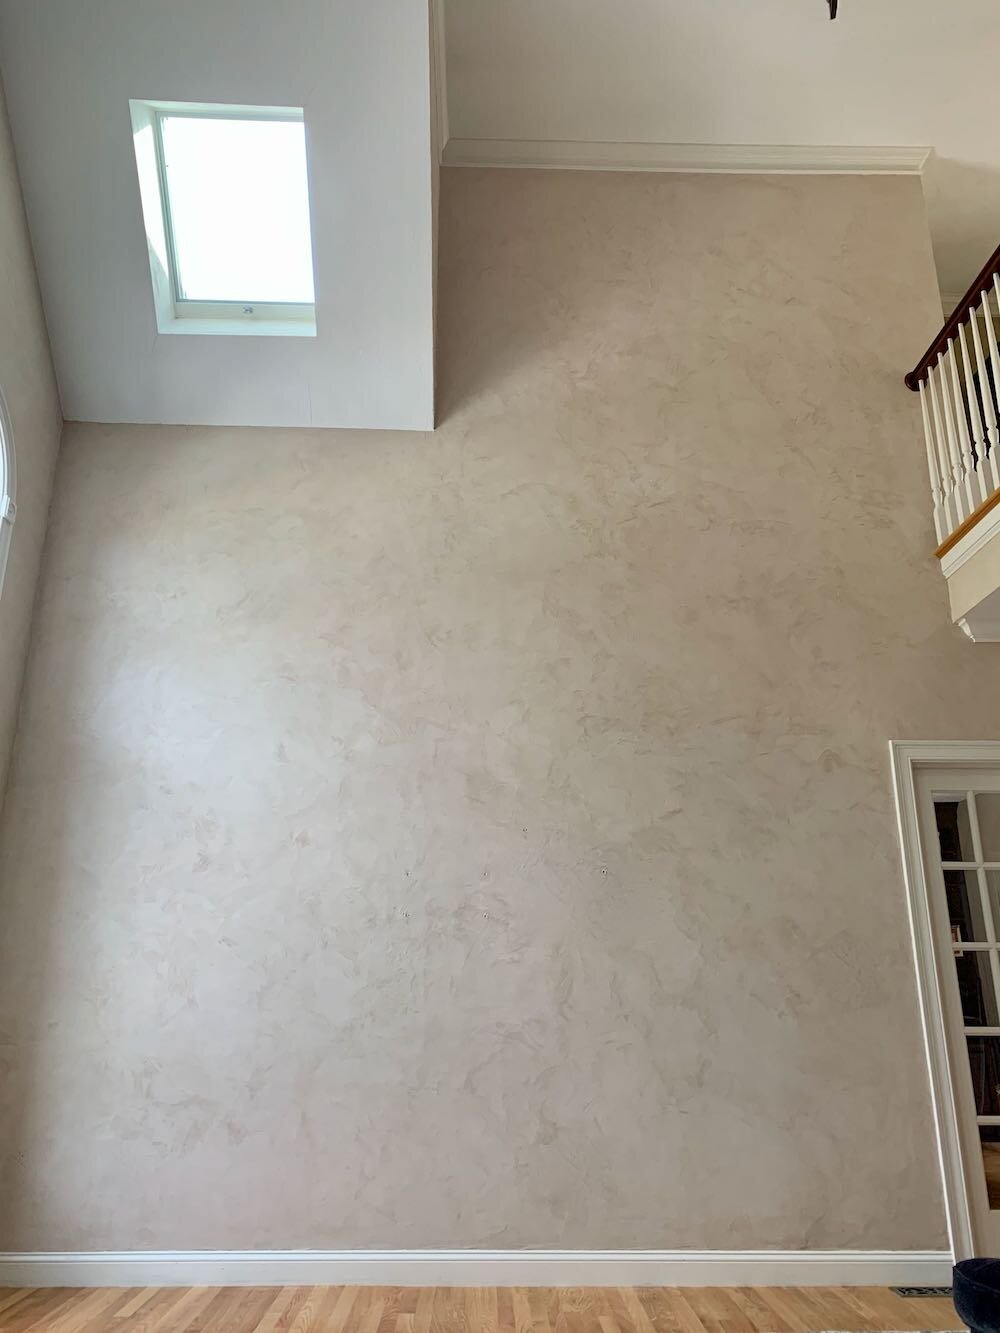
TV wall after


Close-up of final texture
