I love a challenge – and jobs where I need to match existing textures and colors with paint definitely fit the bill! A project I just finished in Orleans on the Cape is a great example of this.
My client Janet is the designer for a new home being built, and she was at a loss for how to handle 6 wooden floor-vent grates that stood out like sore thumbs next the surrounding tile floors… which is when she called me!
The vents were in 4 different rooms with 3 different types of tile. Typically, I visit the site first so I can spec the colors I will need with my color-deck. In this case, though – the long distance meant I was working from the following pictures Janet sent me:

Bath 1 before

Mud room 1 before

Mud room 2 before
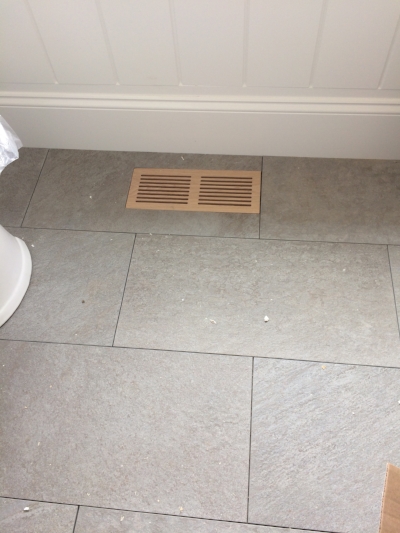
Powder room before
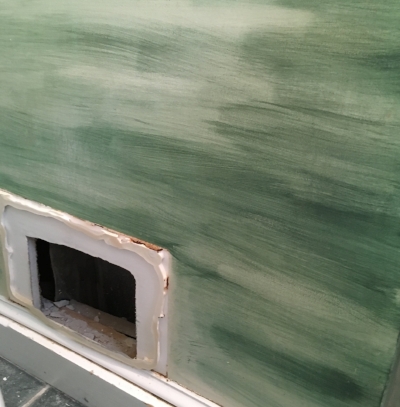
Once I was on-site, the first thing I needed to do was to get a good coat of primer on the grates to insure good adhesion of the paint. From there, my goal was to find a “base” color for each tile - which is the dominant color you see when looking at the tile. This can either be the “background” color behind the texture (if there is one), or it is essentially the “average” of all the colors together (basically the color you see if you stand back and blur your eyes). I mixed each of these colors on site and got Janet’s approval before moving on. After this was dry, each grate became its own little painting. I started by mixing all of the subtle colors I could see bordering each tile, and then went to work with my small brushes to align all of the patterns and colors to make the match seamless.
To protect these “paintings”, I then applied a few coats of water-based polyurethane, which won’t yellow and will protect the color as well as the durability of the paint.
In the end, Janet was thrilled with the result and we had fun watching the previously blatant vent grates now disappear into the tile around them! Here are the results - enjoy!:

Bath 1 after

Upstairs bath after (no before picture available!)

Mud room 1 after

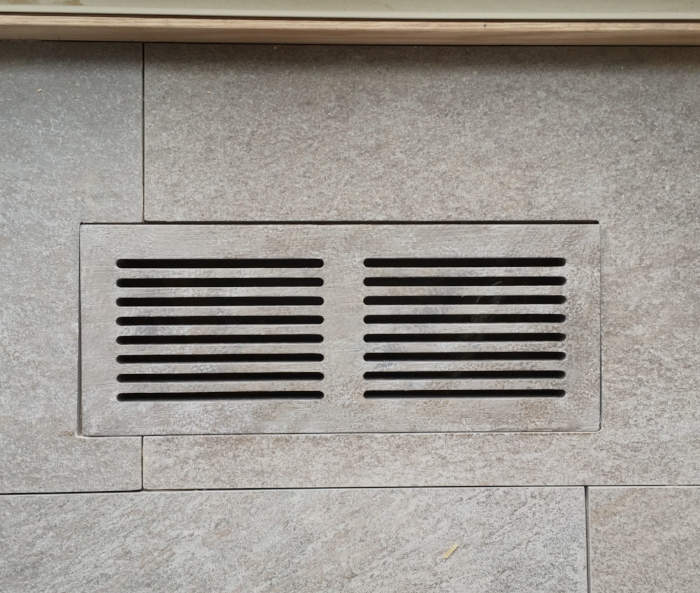
Mud room 2 after
Mud room 3 after

Powder room after